McKinney Mommas: October 2016 Google+

Sunday, October 30, 2016

Bring Your Memories To Life! Canvas Factory Prints + #Giveaway

I received a complimentary product to facilitate this review. As always all opinions are 100% my own and not influenced by the company described.

What good does it do you to have thousands of digital photos sitting around on your hard drive?

Nada. Nothing. Zip!

So why don't you choose a few of your favorites from this year and get them printed onto canvas and hanging on your wall for all your friends and family to see?

Bring Your Memories To Life 


That's what I finally did.

It's difficult to find a photo of the whole family where we're smiling and all looking at the camera, but after a bit of searching I finally found something I thought was "wall-worthy."

The ordering process at Canvas Factory was a breeze - and a 16x20 is on SALE right now for only $35.70!


The canvas print is stretched across a 1.2" frame, which looks great placed directly on the wall.

That's my favorite thing about canvas prints!  There's no fuss with centering, choosing a mat, glass, frame color, etc. 

What's better:

It's ready to hang on the wall the moment it arrives! 

Now, if you want to get creative, there are many more options than a typical single canvas print. 

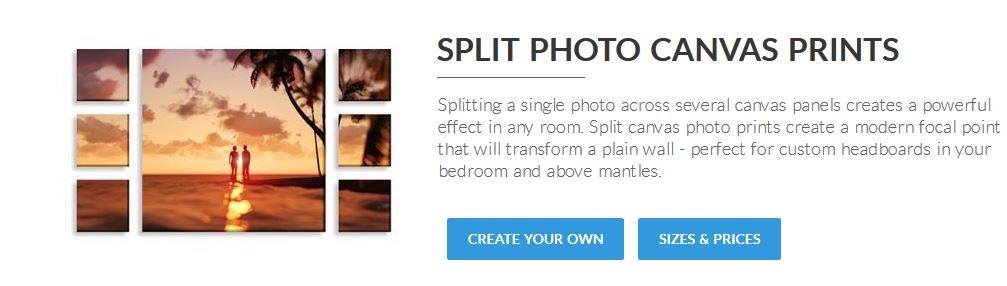
There's this cool Split Photo Canvas Print (pictured above) where you split one photo into multiple canvases for a striking artistic effect on your wall.  

I think this will be my next project for over the mantle. 


The final product on the wall makes me so happy when I walk by it on the way to my room each night.

I've gotten so many compliments from people who say, "These look great! This reminds me that I need to get my photos printed and on the wall too."

So, what are you waiting for? Set those family photos free from your computer, and display them proudly on the wall!

You can shop for your favorite canvas design at: www.canvasfactory.com

  
 Enter To Win

(1)  16x20'' custom made canvas

$129.00 Value!


  • Complete easy Rafflecopter Form below for your chance to win!
  • Giveaway ends, November 19th, 2016
  • Winner must be a US Resident 18+  


  a Rafflecopter giveaway

Saturday, October 8, 2016

How To Make A DIY Halloween Wreath


I'll be the first to say I'm not very crafty. 

My mom is.  My sister is.  I'm am not.

However, I decided to throw caution to the wind this year and attempt a DIY Halloween Wreath.  

Turned out to be super easy, and found all the supplies I needed at Oriental Trading!


Here's what I used:

- Large White Foam Wreath - $6.99
- Black Tulle Roll - $9.99 (but there was TONS left over for future projects)
- Black Chevron Burlap - $8.99
- Spider Pumpkin PushIns - $8.99

Note: In the photos you'll see a few other items I also received from Oriental Trading that I planned to use in my wreath, but in the end I decided that simple was better.


The hot glue gun was my best friend in this project.

I started with just a little line of hot glue to attach the burlap ribbon, and began wrapping. Every inch or so, I'd add another line of glue to secure the ribbon on the back side of the wreath. 

Totally simple!


The next part I was slightly nervous about, since I'm not a bow making kind of girl.

However, a simple search online popped up quite a few results for "How To Make a Burlap Bow" and I followed the simple instructions.

Yahoo! A bow was made! Now all I had to do was hot glue the bow to the bottom of the wreath. 


Not too shabby.

By this time, I was getting pretty excited about hanging this wreath on my front door, as I had never made a DIY wreath before! 

 
The final product was classy, and not too scary, put placing the spider push pins, added an element of spook that was just right for my three little girls. 

The spiders were a great touch for a Halloween wreath, for a home with young children were you don't want things to get TOO scary.................YET!'

I'm convinced that Oriental Trading has just about anything you need for decorating all year round, and also the supplies you need for making your own seasonal decorations!

It worked for me!